Idea – Beat Box?
Description
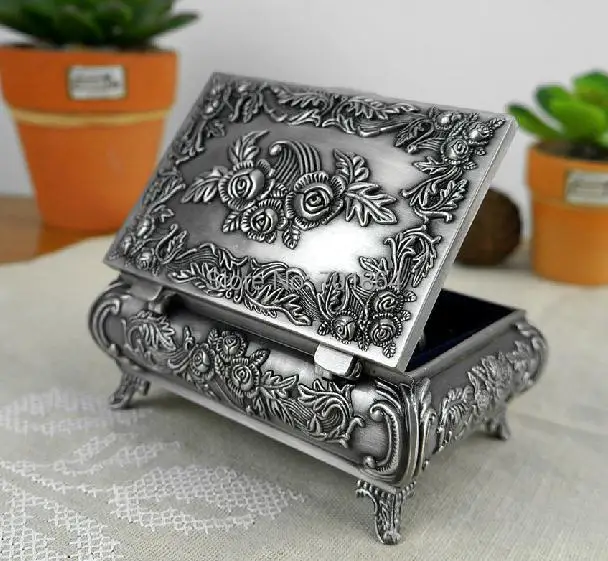
Beat Box is a self-reflection interaction with a box containing a beating heart. As an interactor opens and holds the metal jewelry box, the heart within will began to beat matching the interactor’s own heart rate using conductivity and a servo motor. Four or more hidden RGB LEDs will light the interior of the box with color. The color and intensity will be controlled by the same input data as the heart. Lower the rate, cooler the colors while higher the rate, warmer the colors and brighter it is within the box.
This piece is merely part of a modified version of a final piece. There would be two boxes on display facing one another. As the interactors hold onto the boxes, each heart would beat to the other person’s heart rate.
Other Options
- I would add in a small speaker to create some type of ambient, droning beat to match the heart rate.
- Instead of a metal jewelry box, the heart would be suspended in the heart within an acrylic enclosure as if it was floating. The interaction would be the same, but the input would have to be adjusted. The viewers would have to lay their hand on a platform for the heart to beat.
- The last alternative for a gallery version would be the main artist would wear a monitor during the show. The heart would beat in sync with the artist in real time for everyone to view.
Sketch

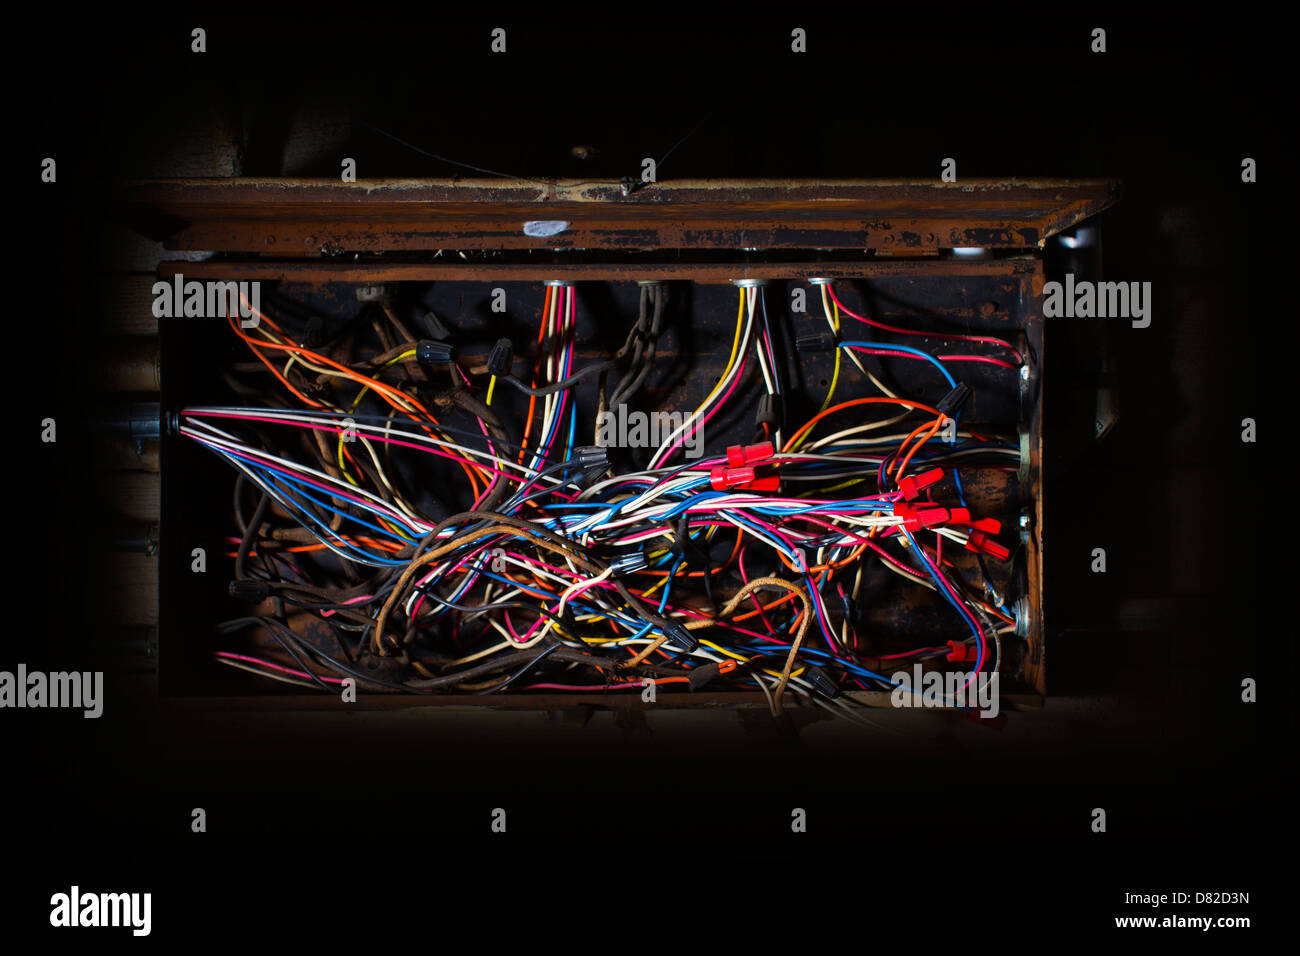
Components Needed
- Rubber heart
- Metal jewelry box
- Acrylic plastic to split the box
- Arduino board
- Servo motor with 2 attachments to push the heart
- Cloth interior – hide electronics
- RGB LEDs
- Arduino battery
Required Outputs
- RGB LEDs
- Servo Motor to drive heart
Required Input
- Metal conductive material to get heart rate


