Thats the Spot!

Thats the Spot!


Hardware Components Used

  • 1 Green LED
  • 2 Yellow LED
  • 3 330 Ω Resistors
  • 2 10k Resistors
  • 1 Servo Motor
  • Arduino Uno Board
  • Breadboard
  • 5-volt power
  • Soft Potentiometer
  • Flex sensor
  • Cardboard
  • Ducktape
  • Piezo Buzzer
  • 14 wires

Concept


Description:

That’s the Spot! is an interactive game where the interactor controls a servo motor with a soft potentiometer. The motor head collides and bends a flex sensor. As the flex sensor bends, the LEDs will light up from yellow to green. If the interactor discovers the “spot” and holds the position, the piezo buzzer will play a jingle. After the interaction, the system resets and a new spot is selected for a different experience.

As they interact, the interactor should feel determined. They should feel the struggle to find the correct spot to complete the sequence. The personal value of the piece was the challenge of the flex sensor and the board design. Since the breadboard is small, I struggled to create a smooth interaction between the servo and flex sensor. Besides the design, the flex sensor sensitivity is short. I mapped and constrained the values for the interaction to work correctly.

Possible idea for the structure:

I envision this piece as being contained within an acrylic structure with one side being brass. The side of brass would be the interface with the soft pot and LEDs connected too. The rest of the piece would be a clear shell which will allow the interactor to view all the working parts interacting with itself. The style would be a mix of steampunk and sciFi.

To fill the negative space within the shell, there would be a mess of colorful wires. Example: 
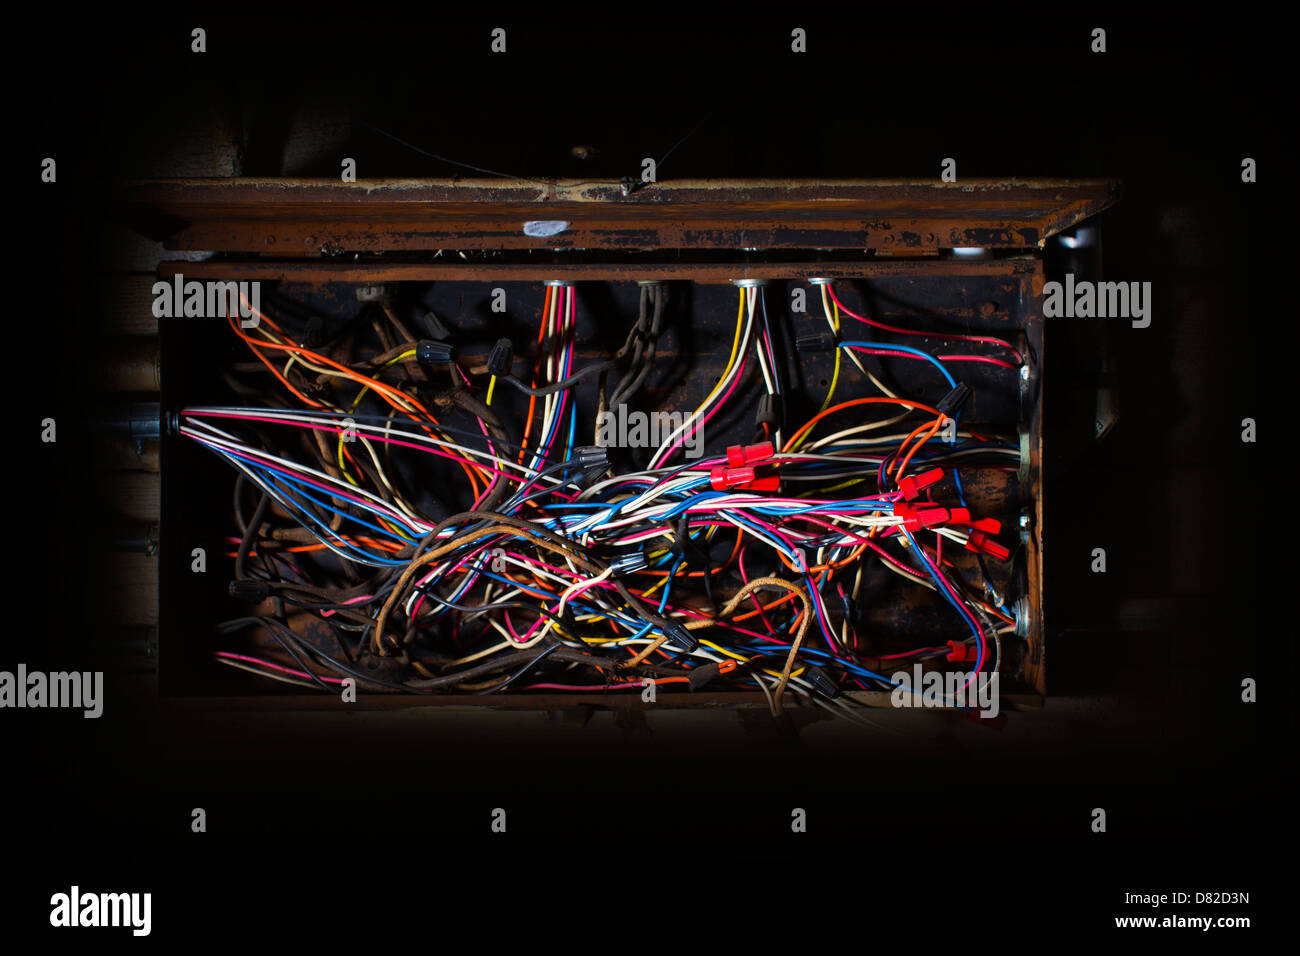
 

Blog Entry – Research and Project Updates – 2019 #6

3d digital art

This sprint was to start getting in the customization in Substance Designer. For some reason, I feel I am over complicating the design layout. Creating shapes is not the issue but rather the connection of customization in Unity. I am at a point where I need direction to either make preset panels or keep what I am doing right now and make it real time customizable panels. I believe that later is what the professor wants. Here are some WIP screenshots:


Direct Studio/Thesis Project

My focus on the project was to get a rigged character in from Adobe Mixamo. I ended up customizing the character and merging two different toons. Right now, it is in the scene and has a idle animation on it. I discover a huge design problem that I need to keep in mind. Aspect Ratio of the frame…. I could not find a decent 16:9 look. The ratio is too wide for a traditional looking portrait I envision. Good news, I have an idea where I would crop in using a different ratio like 4:5 and then build the physical frame to crop and hide the screen. This should be the best and fastest fix for the issue. Here are some screenshots with different aspect ratios.


Human-Computer Interaction

This sprint I focused on writing projects for my portfolio website. I used a few past projects – The Take House on the Hill, Floating Pyramid, and Simon Says…Photo-resistor. The formatting for the 3d art is close to what I already have but I might update some old posts and remove older art from 2012 that does not reflect my current skills.

Floating Pyramid

Floating pyramid


Description

Floating pyramid is an acrylic pyramid filled with magnetic fluid and water that is attached to a stand. The pyramid’s rotation can be manipulated 360 degrees by the user. Within the pyramid contains magnetic fluid called ‘ferrofluid’ and water (or some type of liquid that allows the ferrofluid flow freely). To control the ferrofluid, there are 6 electro-magnets that the viewer can stick on the pyramid. The power of the magnets can be individually controlled using 6 potentiometers.

Everyone is an artist and the goal of the piece is to allow the viewer to create their own unique art piece by using the pyramid and the use of the shadows created by the fluid.


Inspirational Images/Components used in my Design

https://i2.wp.com/ae01.alicdn.com/kf/UT8b72EXWJbXXagOFbXQ/Free-Shipping-Ferrofluid-A-Bottle-Magnetic-Liquid-Neodymium-Magnet-Office-Toys-Science-Decompression-Novelty-Creative-Toys.jpg

https://images.vat19.com/covers/large/ferrofluid-in-a-bottle-display.jpg

https://sc02.alicdn.com/kf/HTB15ukkLXXXXXXWaXXXq6xXFXXXY/china-supplier-new-style-wholesale-acrylic-plexiglass.jpg_350x350.jpg


Sketch

Components Needed

  • Ferrofluid
  • Acrylic container aka the pyramid
  • Spotlight
  • Potentiometers
  • Electro-Magnets
  • Arduino board
  • Metal/Plastic structural pieces

Simon Says…PhotoResistor

Simon Says … Photo-resistor

Hardware Components Used

  • 1 Photo-resistor
  • 1 RGB LED
  • 1 Yellow LED
  • 4 330 Ω Resistors
  • 2 10k Resistors
  • 1 Switch
  • 10 Wires
  • Arduino Uno Board
  • 1 Breadboard
  • 5 volt power

Concept


Description:

Simon says…Photo-resistor is an interactive game using a photo-resistor as the main input for the experience. As the user presses the button, the game begins. The RGB turns white and begins the blue blinking a randomized sequence. The number of blinks is the required number of times the user needs to flash a light towards the photo-resistor to win the game. During the “input” phase, the RGB led light blinks RED and GREEN indicating the time left. If the player fails to complete the sequence, the RGB LED will turn RED indicating they failed. If the player completes the sequence, the RGB LED will turn GREEN indicating they have won.  After the complete phase, either win or lose, the game will reset and idle until the button is pushed to start again.

As this piece resembles a game, the emotional response would be excitement, panic, and joy. The personal value of the piece was the challenge of coding and using a photo-resistor. As it was the first time I would have worked with one, I ran into some issues with calibration. Ultimately, I believe this piece was sacksful. It allowed me to push myself and try something different that was out of my comfort-zone.

Blog Entry – Research and Project Updates – 2019 #5

This week I researched Substance Designer for the 3d digital art course. I came up with 3 ideas for the project but this morning, I got help and narrowed down to two. Tomorrow I will be choose between the two. Most likely, it will have to deal with foliage and creating a generator.

As for the other project, I sketched some ideas but I am not satisfied with them. I also got a bunch of references for clothing. Hopefully I can find the look I am going for. I did decide later this semester, I will be creating the character in 3d. It will be stylized but has detail elements of realism. The goal of the look is too keep the proportions of everything slightly off while using realistic details.


Some Sketches:

Blog Entry – Research and Project Updates – 2019 #2

This week I began my research of art styles. As this semester is focusing on character art, I will have to decide on what interests me and what will work the best for the outcome of the project. 3 areas of focus for this week was creepy, study of styles, and sketching. While I had limited time to sketch, I did sketch for the 3d art class’ project. That style is the Tim Burton gothic look. Sketching out houses (the main focus of the 3d work), I enjoyed the craziness. Not caring for perfect lines. Not caring about perspectives. I have always enjoyed Tim Burton’s style. With that in mind, I entered a rabbit whole of reference search. Collecting as much reference to help me get started, I believe I have an idea for a look – dark/gothic, Disney-ish/Tim Burton faces/bodies, Victorian era clothes, and wet plate overlay/distortion. Combining them all together should create a unique and “creepy” look. Next week, I will be focusing on sketching up at least a few faces, and maybe a few bodies.

Here are a few links:

https://www.pinterest.com/pin/286471226268779511

https://www.pinterest.com/pin/412572015838010536/

https://www.pinterest.com/ReneeRossBooks/gothic-romance-art/

http://cvicworks.blogspot.com/2013/06/retro-gothic-dark-romance-paintings.html

An Analysis of Art & Design in the Films of Tim Burton

Custom Floral Alphas


Software:

Autodesk Maya

XNormal

Ram Hammer


 Ram Hammer – 2016

Software:

Adobe Photoshop

3d Coat

Autodesk Maya

Pixologic Zbrush

XNormal

Concept Source:

http://firstkeeper.deviantart.com/art/Weapons-concept-200159906

Fantasy Ruin Temple Painting


Fantasy Ruin Temple Painting

Software:

Adobe Photoshop

“ShadowWalker” Alan Froster


“ShadowWalker” Alan Froster

Game was displayed at PAX EAST 2012 at the Becker College Booth

Software:

Adobe Photoshop

Autodesk Maya

Pixologic Zbrush

The FIRST Image was the graphic for the display at the Becker College PAX EAST 2012 booth.